Foreword
Since one-year free certificates are now virtually extinct, the most time-saving and effortless solution is automatic deployment and renewal using acme.sh. Although most of my services are now running on serverless systems, having an automated program to obtain valid website certificates at any time is still somewhat necessary. If you exclusively use Cloudflare's services like me, you can generate a self-signed certificate valid for 15 years in the Cloudflare dashboard. This can pass Cloudflare's system HTTPS verification without deploying a public CA certificate; the public CA certificate system will handle the automatic application, with current providers being GTS and Sectigo. Below is a brief record of the steps and points to note during the application process. ACME
Installation and Setup
Install acme.sh
curl https://get.acme.sh | sh -s [email protected]
Set alias for quick start
echo "alias acme.sh='~/.acme.sh/acme.sh'" >> ~/.bashrc
source ~/.bashrc
Test if installation is successful
acme.sh --version
A successful version return indicates a successful installation.
Set default application email
acme.sh --register-account -m [email protected]
Please replace [email protected] with the email address you want to set. Once configured, subsequent certificate applications will use this email by default.
Choose the Certificate Authority
According to the official documentation, acme currently supports five SSL certificate issuers:
- ~ZeroSSL.com CA~ (Default)
- Supports multi-domain & wildcard domain, 90-day validity period
- Upstream CA: Sectigo (USERTrust ECC Certification Authority)
- Letsencrypt.org CA
- Supports multi-domain & wildcard domain, 90-day validity period
- Upstream CA: ISRG (ISRG Root X1)
- ~BuyPass.com CA~
- Supports multi-domain (up to 5 per single certificate), 180-day validity period
- Upstream CA: Buypass (Buypass Class 3 Root CA)
- ~SSL.com CA~
- Only supports single domain, registration required, 90-day validity period
- Upstream CA: SSL.com (SSL.com Root Certification Authority RSA R2)
- ~Google.com Public CA~
- Supports multi-domain & wildcard domain, 90-day validity period
- Upstream CA: GTS (GTS Root R4) In summary, it is recommended to choose ZeroSSL/Let's Encrypt/GTS, which support automatic renewal, multi-domain & wildcard domains, applying once and for all.
Switch Certificate Authority
acme.sh --set-default-ca --server zerossl
The parameter after —server indicates the authority to switch to. Available options are:
- zerossl/letsencrypt/buypass/google/ssl.com
The following application steps use ZeroSSL as an example with the Cloudflare DNS API.
Configure Cloudflare DNS API
Steps to get the API key:
- Log in to the Cloudflare Dashboard.
- Go to My Profile.
- Under API Tokens, create an API token with DNS edit permissions, or use the Global API Key.
Fill it into the following code and run it in the terminal.
bash
export CF_Token="你的Cloudflare_API_Token"
It also supports multiple DNS providers; see Github for details. #### Apply for a certificatebash acme.sh --issue --dns dns_cf -d example.com -d '*.example.com'This applies for certificates for the two domains examle.com and *.example.com, which can be modified as needed. To add new domains, simply continue adding -d domain at the end.
If you need to specify a certificate authority, simply add the —server option.
acme.sh --issue --dns dns_cf -d example.com --server zerossl
Install the certificate
Choose the corresponding code to install based on your web server version. The following uses Apache as an example:
acme.sh --install-cert -d example.com \
--key-file /path/to/your/domain.key \
--fullchain-file /path/to/your/domain.cer \
--reloadcmd "service apache2 reload"
Please manually modify the domain and paths in the above section. The paths will be provided upon successful certificate application in the previous step.
Set up automatic renewal
acme.sh --renew -d example.com --force
After this, certificate renewal will be completed automatically without human intervention.
The above is the entire process of applying for and configuring certificates using acme.sh, with the final result attached for reference.
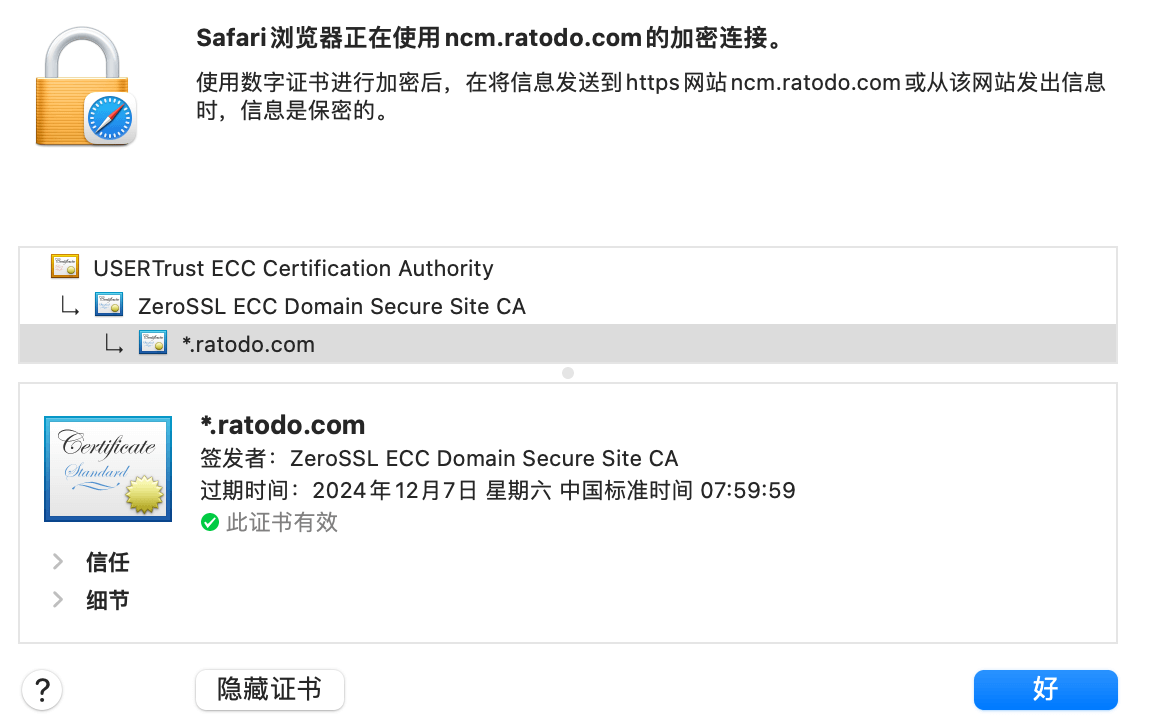
Final Result